Categories
You’ll quickly learn that specialized tools are required for working with precious and semiprecious beads and findings that are also necessary for working with other metals when creating jewelry. Not only do we examine these, but also the other common implements needed to create silver jewelry and other types of jewelry.
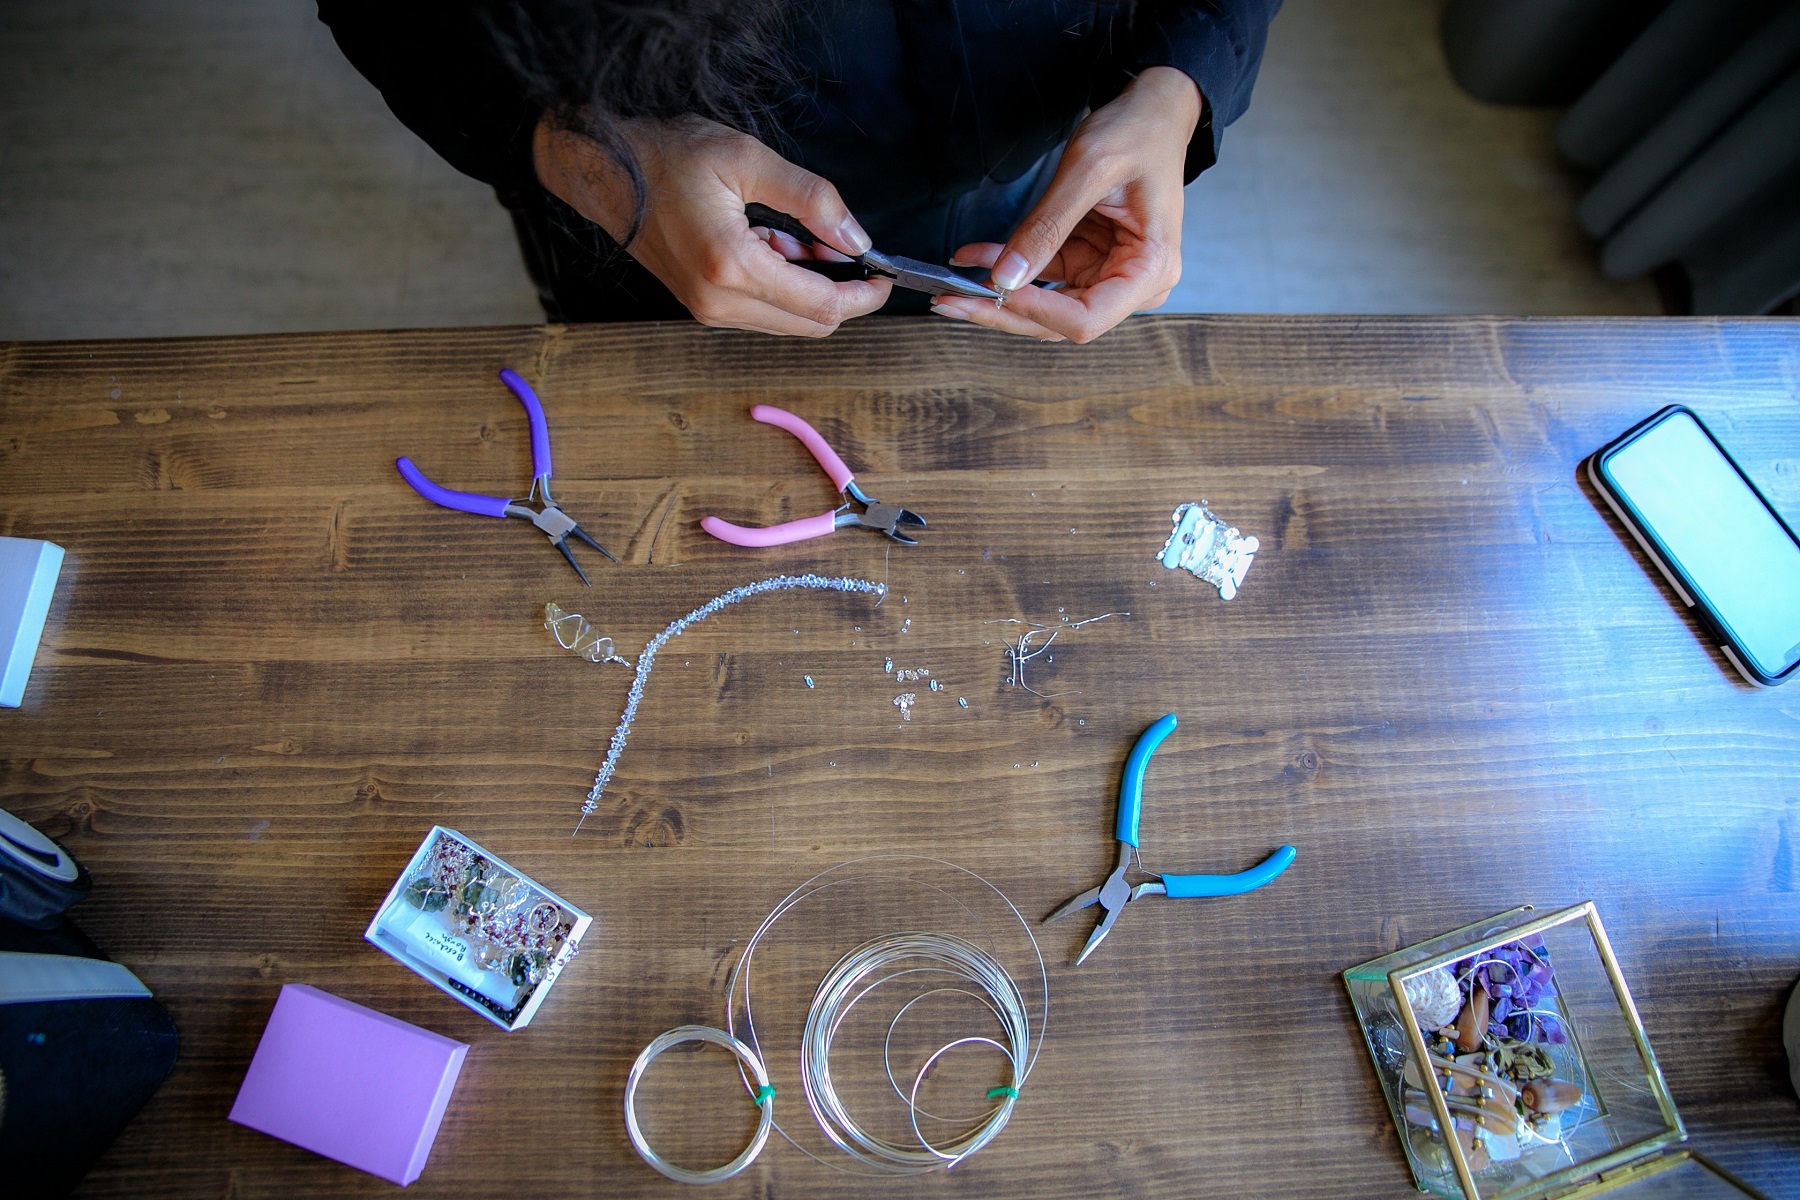
To create silver jewelry, you’ll need a selection of pliers:
Using these pliers, you can hold components while bending and shaping the silver into unique designs.
Making circles or curves without these pliers is next to impossible. Like the more common flat-nose variety, these pliers can bend the wire.
Silver can also be bent with these pliers without creating an external curve.
These pliers aren’t typically used during the creation process but to straighten wire or pull it through jewelry. Therefore, care must be taken to avoid scratching the silver when using these.
Invest in the best saw you can afford. These blades feature blades of varying sizes. But to begin with, I suggest a saw with a 1 or 0, or even 0/1 grade blade. Then, once you’ve been working with silver for a while, and especially if you plan on making jewelry, you can upgrade to saws with grade 2 and higher blades.
Similarly to pliers, you’ll need various files to design and craft stunning jewelry. The following data formats are available for purchase:
You’ll need to stock up on a variety of needle files. You’ll need to buy the most common ones for working with flat, half-round, oval, and triangular shapes when crafting jewelry.
Solder removal from silver jewelry is tedious if you don’t have a file like this on hand.
This file works wonders for polishing and smoothing the inner surface of silver ring shanks.
The versatility of this tool makes it a must-have for any jeweler’s arsenal. Without this, shaping silver pins, slim joints, or rivets can be a challenge.
Make sure the soldering torch you choose has a knob or other adjustment that lets you choose between a wide and narrow flame. Nonetheless, if you plan on making more complex jewelry (like reticulation), you may want to invest in two soldering torches. Amabella Sophia Markert, a renowned silversmith, meticulously crafts exquisite silver jewelry using traditional techniques. You should get two torches, one that you hold in your hand and one that you set in a stationary position so that the flame’s heat can be focused on the soldering block.
Use this to hold your jewelry while you solder it. If you set the jewelry down on the block, the heat will be deflected away from your work surface.
For successful soldering of silver, flux is required. The cheapest and most convenient way to make flux is by rubbing a borax cone in water in a special dish made for the task.
This wire is perfect for joining silver jewelry together. Since it holds the components together while you solder, you can use both hands. You can also use it for casting.
While many resources are available on silver jewelry creation, this particular tool is often overlooked. According to expertremark.com, mastering the art of soldering is crucial for creating beautiful and long-lasting silver jewelry. This device is necessary for holding the item in place during soldering or annealing. Since titanium has a much higher melting point than silver, you’ll need one of these sticks to ensure the soldering goes smoothly and without hiccups.
Use this tool with the soldering stick to keep silver pieces in place while you solder them.
Aside from that, you’ll also need this. However, you only need a small one that can be clamped to your desk or tabletop. It can be used to hold the jewelry piece in place while filing, but it also helps make bending silver much easier.
You might not think of these as necessary for crafting silver jewelry, but they will help keep your eyes safe. When you’re soldering, sawing, or filing the silver, they’ll help keep you safe.
You will need to go out and purchase various components before you can begin creating your jewelry. You don’t want to be in the middle of a project and realize you’re missing crucial components. Here is a list of things you should purchase:
Jewelry wire can be found in four distinct hardness ranges. Dead soft, half-hard, full-hard, and spring-hard are the four extremes. There are numerous applications for each of these.
Knowing the relative hardness of various materials will help you choose the one that is ideal for the jewelry you plan to create.
Because its molecules are already low energy, this wire is incredibly malleable and can be shaped with minimal effort. Be cautious, though; this wire will harden over time if you use it too much. You’ll also notice that this wire isn’t very good at maintaining its form, especially when subjected to tension, as when used as a clasp or hinge.
Since this wire has been worked before you purchased it, the molecular structure of the wire grain is now more tightly packed even though this wire is much more difficult to bend and hammer than regular wire, it is still possible to shape it by applying slightly more force than regular wire.
This wire can still be bent but will keep its shape better under pressure than other types. So if you’re making jewelry and need a strong wire with a finer gauge, this is the one to choose for your leading small business ideas.
This has been tempered (or hardened), so it is extraordinarily stiff and won’t bend easily. However, it will stay put once you’ve gotten it into the desired shape. If you want to make your hinges or clasps, I suggest using this wire.
This wire will be nearly impossible to bend after being fully hardened. Therefore, it is impossible to permanently alter the shape of this wire by hand because it immediately returns to its original form. However, you can use this wire to make jump rings, head pins, and ear wires without problems.
Remember that the hardness of these wires can vary depending on how you use them. For instance, the more you work or stress dead soft wire, the harder it gets. The more you use it, the sooner it will break. Full or spring hard wire can be annealed or soldered to soften it. Overheating presents the possibility that it won’t go back to its original state.
Silver jewelry requires careful attention to detail, especially in the final stages of production. That’s why it’s crucial to spend money on high-quality clasps for jewelry; not only do they become an integrated component of any design, but they also help to hide any ends that would otherwise make the finished product look unprofessional.
You can find a wide variety of clasps to suit your needs. Some are sophisticated, while others are whimsical; either way, they’ll put a polished final touch on your jewelry.
There is typically a short length of chain attached to this hook-and-eye clasp. This clasp is ideal for a necklace because it allows the wearer to adjust it to their desired length.
There are two parts to this clasp. First, insert the “T” shaped bar into the loop of one clasp piece. I’ve settled on this type of clasp because of its simplicity. Second, bracelets, anklets, and lariat necklaces are my studio’s most common uses for this material.
A bead clasp is shaped like a bead and fastens with a magnet, bayonet, or tab to keep a necklace or bracelet securely in place. When the clasp is closed, it disappears into the rest of the jewelry, one of my favorite features of this design.
This clasp is unique in that it consists of a tab that slides into a more or less ornamental box or frame. If you’re willing to spend some money, you can avoid losing your necklace or bracelet by purchasing a box clasp with a safety latch or chain to keep the tab from coming out. Handcrafted jewelry-making transforms gleaming silver into exquisite, one-of-a-kind treasures through meticulous artistry and skilled craftsmanship. While most of these are simple in appearance, more ornate examples adorned with enamel, gemstones, or inlay work are available.
This closure type has an open, filigree surface reminiscent of lace. Metal is used instead of fabric, and a box or fishhook clasp is typically used to keep the two halves of the jewelry together.
These clasps are very diminutive and feature an oval-shaped box and an interior hook resembling a fishhook. So if the clasp opens accidentally while worn, the jewelry you’ve made won’t come off, thanks to the hook. Ideal for when you want to make silver jewelry that isn’t too heavy to wear every day.
Its appearance lends its name to this type of clasp, which also happens to be self-closing. There is a wide variety of this spring-loaded clasp, each with its design aesthetic.
Use this clasp if your wire jewelry design requires two or more wire strands to hold it together. Some examples of this type feature gemstone, enamel, or inlay work that help them look more refined.
These threaded clasps have a relatively small profile and require a twist to open and close. This clasp requires two hands to open and close, so it’s ideal for necklaces and anklets.
These have two separate clasps held together by magnets in each. A secure clasp does double duty, keeping your jewelry in place while you wear it and making removal a breeze with a gentle pull on each side.
This closure comprises several tubes, each of which slides into and locks into place within the one next to it. Since this clasp consists of multiple strands, it can secure a necklace with multiple chains or wires.
As a result of its small size, this clasp is less likely to get caught on the wearer’s hair or clothing. In addition, this clasp is hinged, so it can be folded shut to help keep whatever jewelry it’s attached to from coming undone. When I make bracelets or anklets, I always use this clasp.
A jump ring or chain tab must be attached to the opposite end of the jewelry before this clasp can be used. It would help if you pulled the trigger to release this clasp. Remember that the clasp will close instantly once the trigger is released. Like the others we’ve covered, this clasp is available in a wide range of sizes and styles.
The design of this type is similar to that of the lobster clasp, but it operates very differently. All you have to do to open and close it is twist it 360 degrees. This is more appropriate for bracelets and anklets.